Adding a Banner to a Page
Last updated: August 11, 2025
Enhance your Motive homepage, inventory collection, or CMS page with a banner by following this simple process
Step One: Create a Slideshow
- Go to the 'Slideshow' tab in the left panel, under engagement
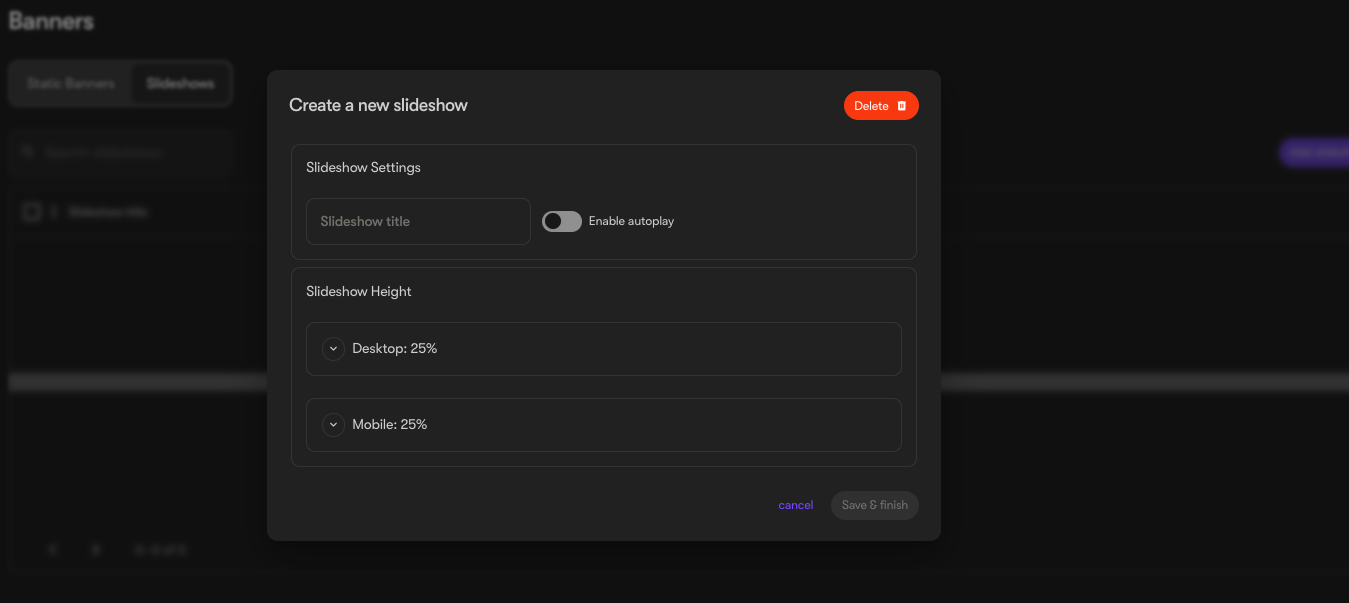
- Click 'Slideshow' then "Add slideshows". Here, you can give your slideshow a name and adjust its height
Step Two: Add a Banner to the Slideshow
- Still within the 'Slideshow' tab, choose 'Static Banners' from the header row
- Select the slideshow where you wish to insert the banner image
- Optional: Set a start and end date for the banner's display
- Optional: Link the banner to a page for customers to click through
- Upload the banner you wish to display (suggested size: 1940px x 485p)
- You can click mobile to upload a banner created to fit on smaller screens suggested size (780px x 312px)
- Click "Publish Changes"
Step Three: Add the Slideshow to a Page
- Switch to the 'Pages' tab in the left panel, under 'Website'
- Identify the page where you want the banner (e.g., Home)
- Click on the hero section. In the right panel, you'll see an option to search for a slideshow
- Find and select the slideshow title you set in Step One
Finalizing: Don't forget to save your changes and publish the updated page
Below is a demonstration:
Following the steps outlined above, you can add multiple banners to a slideshow, and they will be showcased on your homepage.