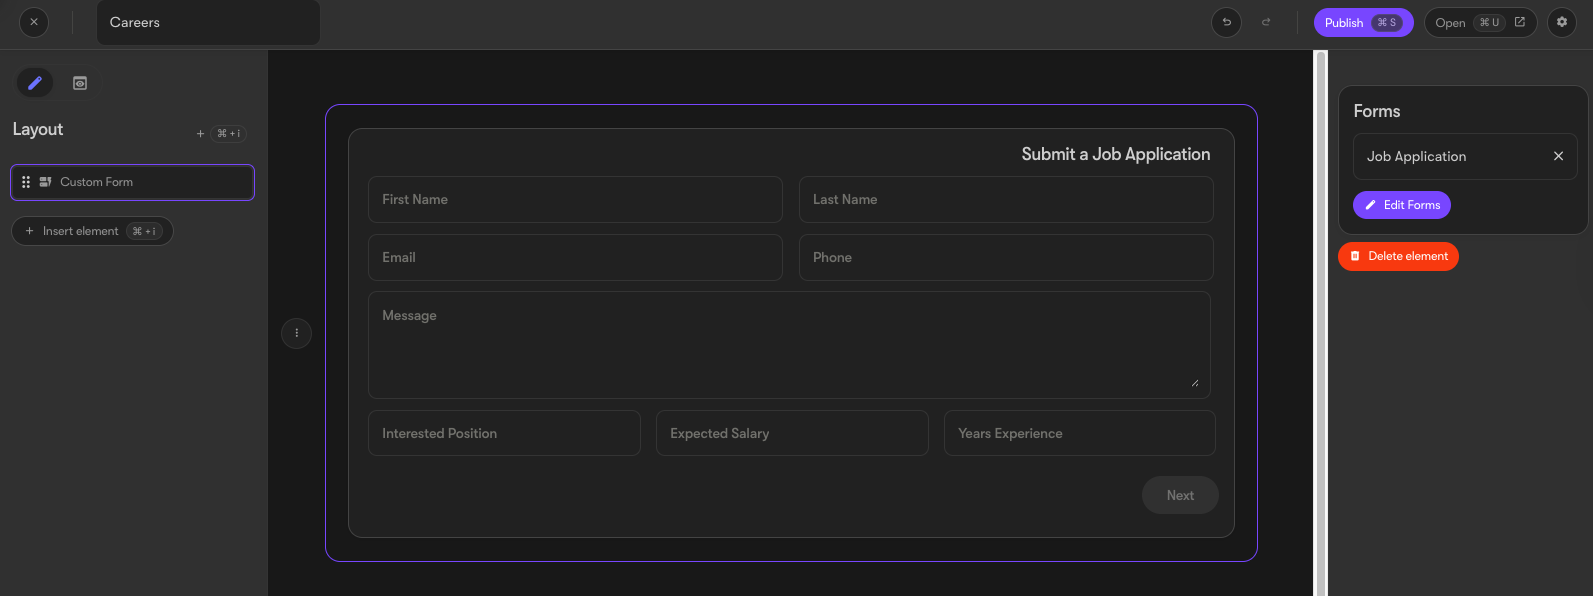
Creating Custom Forms
Last updated: October 31, 2025
Motive is excited to introduce our new Custom Form Creation Tool!
Now you can easily build forms for any purpose — whether it’s career applications, special promotions, or customer engagement through coupons. This guide will walk you through how to use the tool step by step.
Creating a Custom Form in Admin
Access the Form Builder
In the Admin panel, navigate to Engagement → Forms.
Click Add Form in the top-right corner.
Enter a Form Name, then you’re ready to start building!
Building Your Form
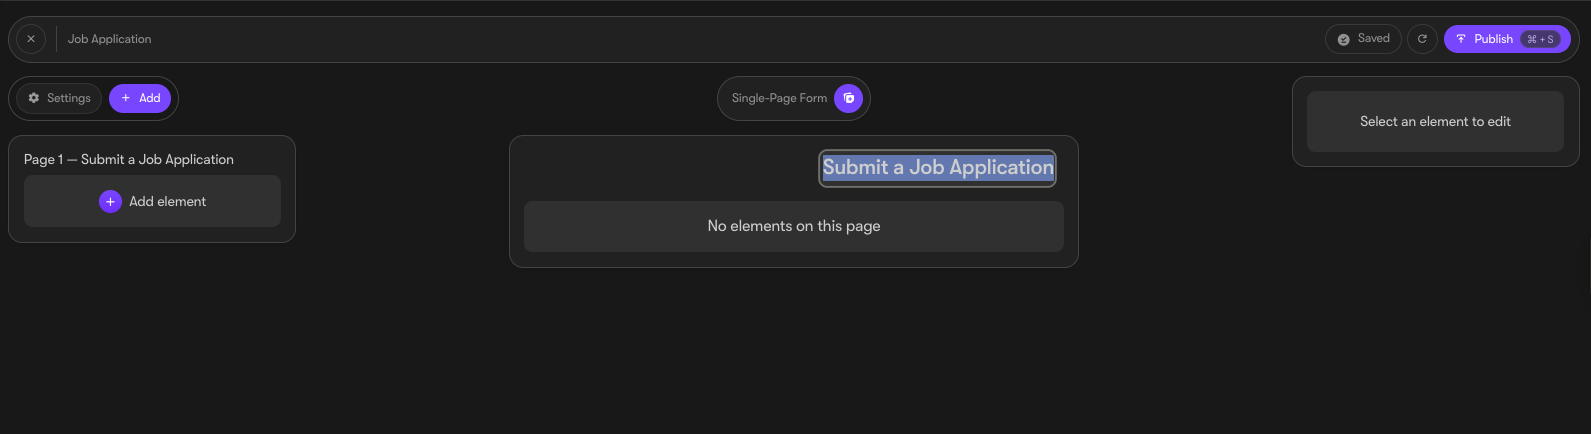
Add a Form Title
Begin by entering a title for your form.
Add Form Fields
You can add different types of fields to collect specific information.
Use custom blocks for common data like name, email, phone number, and address — these fields are pre-formatted for convenience.
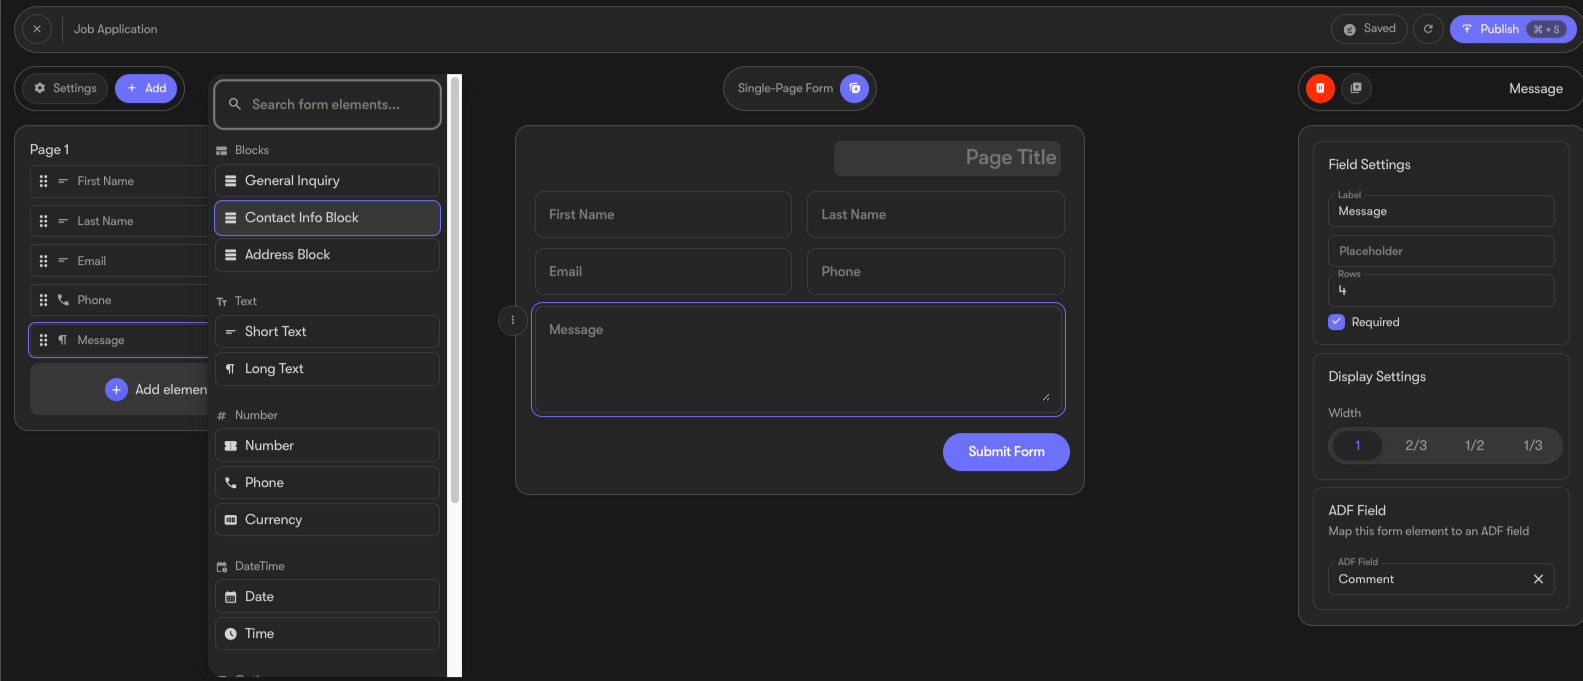
Add generic fields for custom inputs. You can configure these to accept text or numbers only.
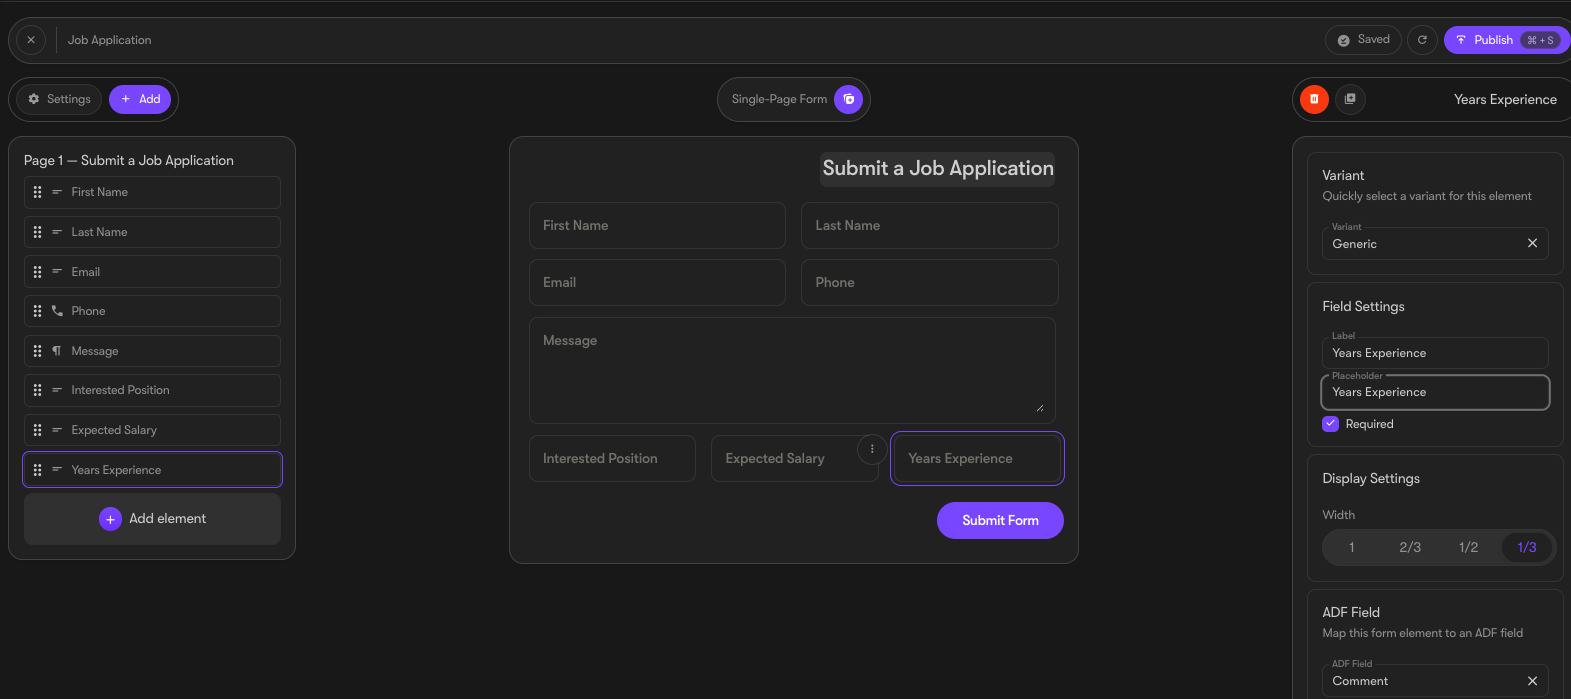
On the right-hand side, set the label (this appears in the email submission) and the placeholder text (this shows users what to enter).
You can also mark a field as required so the form can’t be submitted without it.
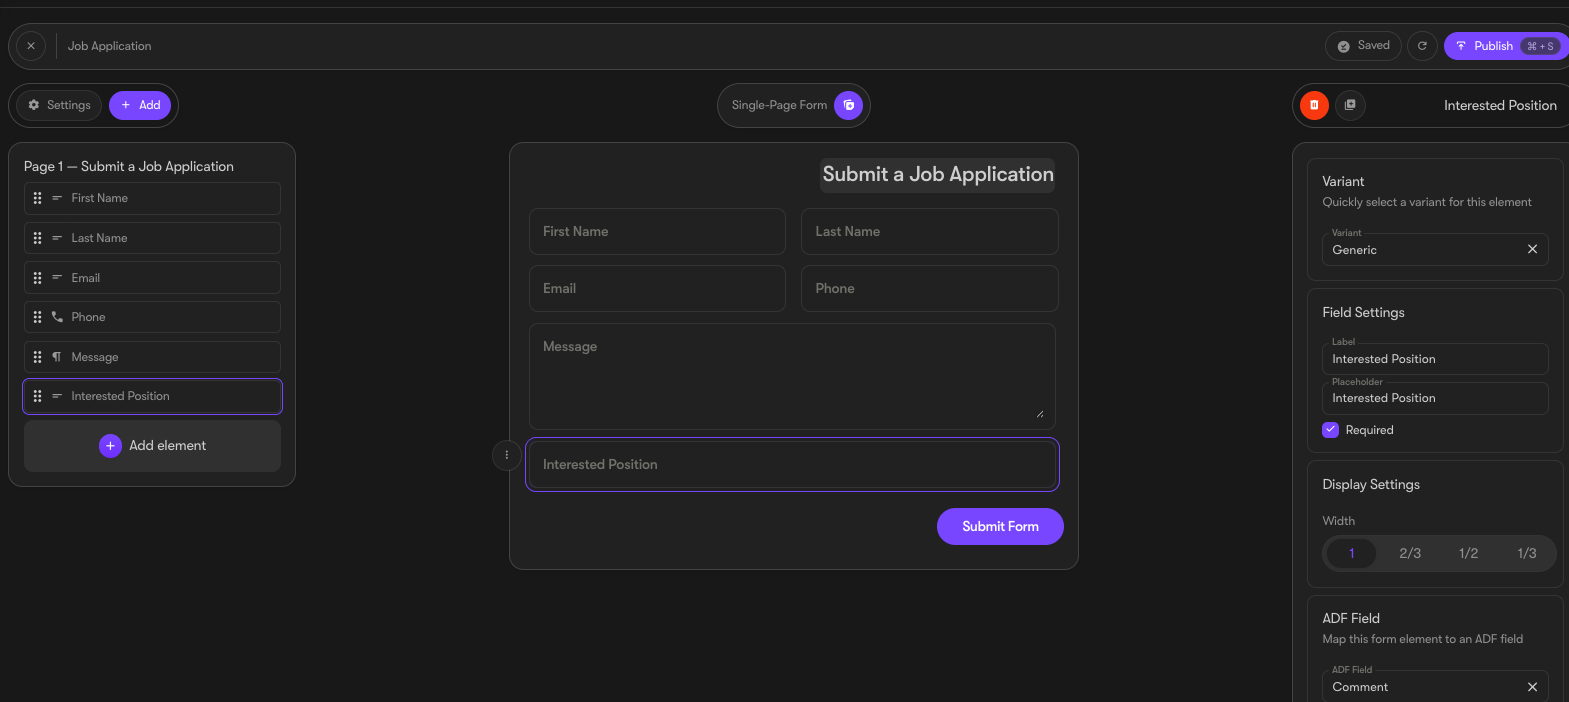
Adjust Display Settings
Below the “Required” checkbox, you’ll find Display Settings.
Here, you can adjust the field length for better layout and appearance.
For shorter text fields, use smaller widths to save space and improve design.
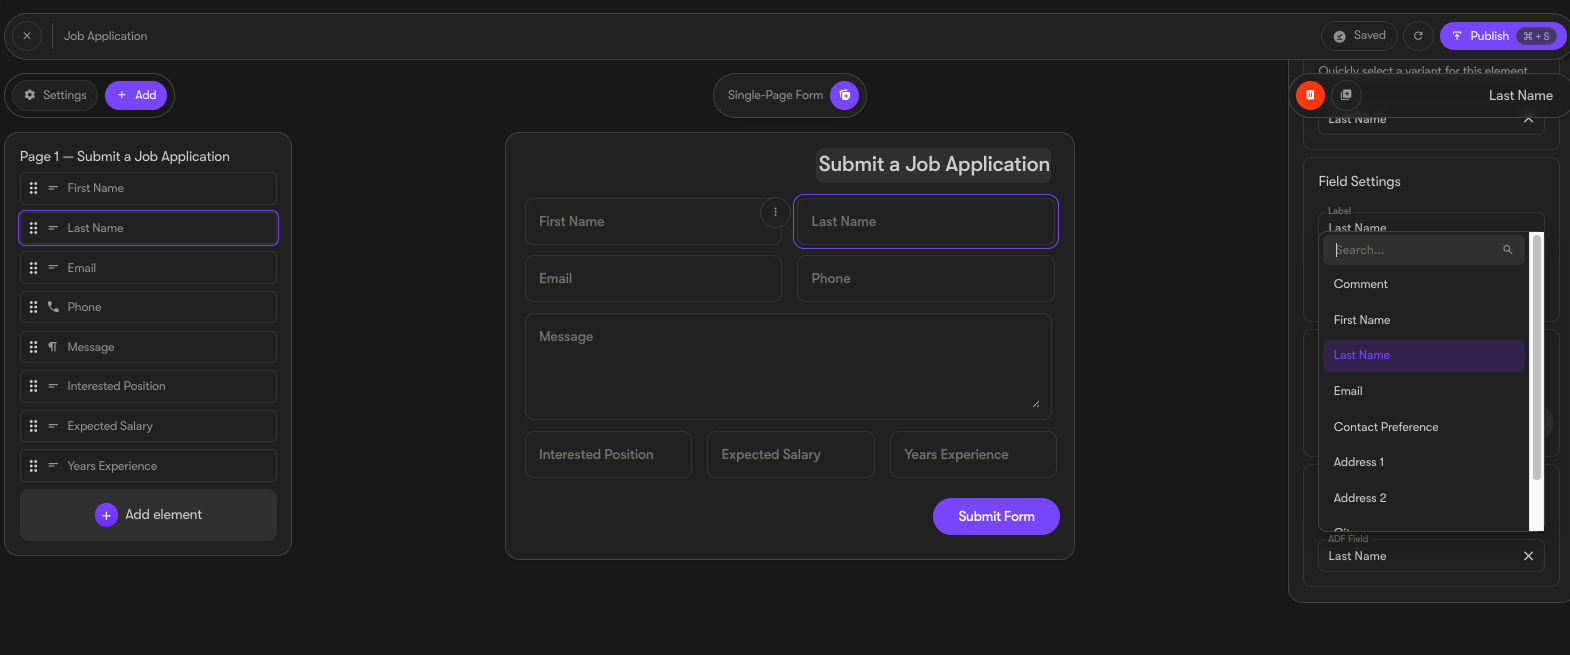
Map Fields to Your CRM (Optional)
If your form data will be sent to your CRM, select which CRM fields each form field should populate.
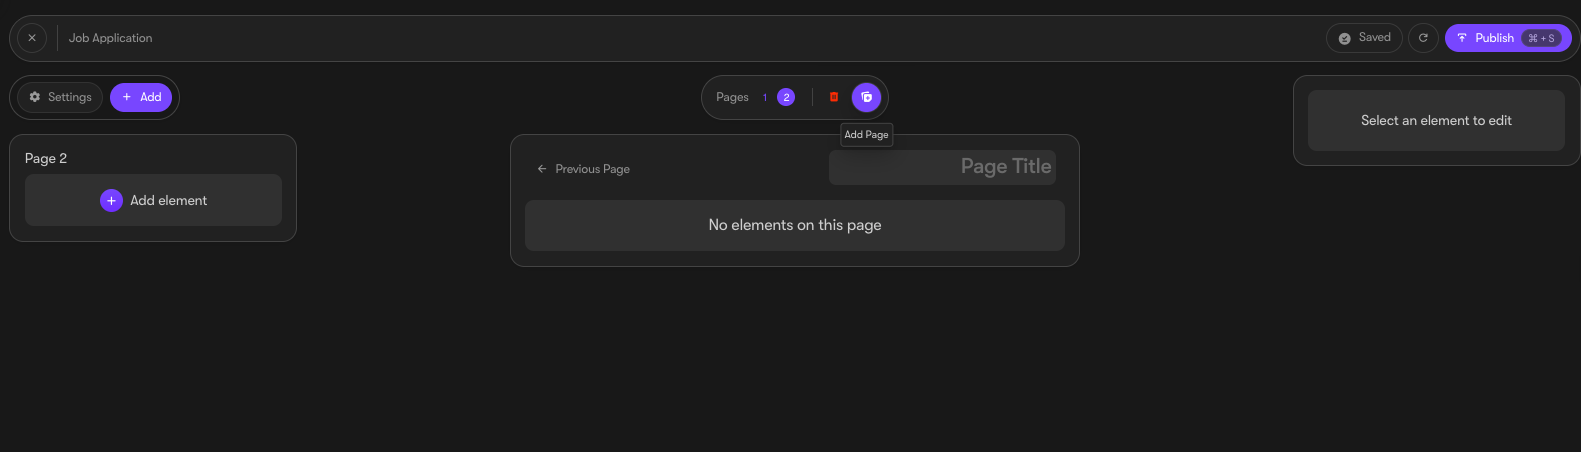
Add Additional Pages (Optional)
If your form becomes too long, you can create additional pages to make it easier for users to complete.
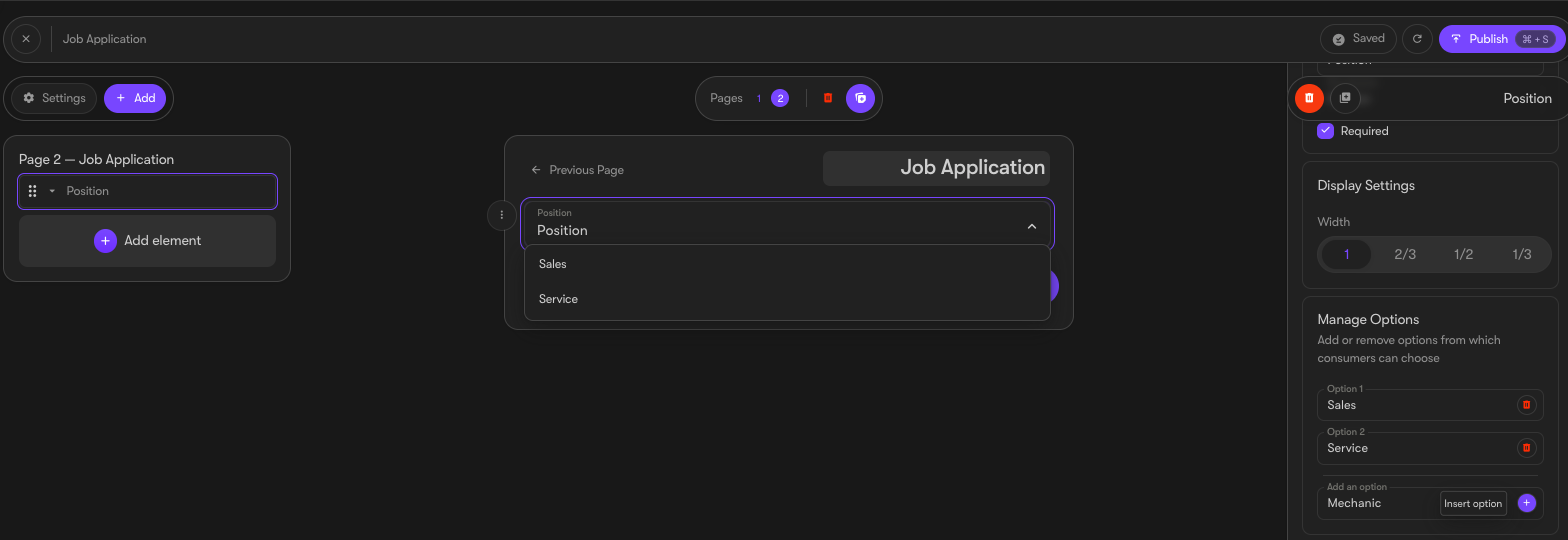
Add Dropdowns or Checkboxes
For selection options, add a dropdown field. Enter each option in the right-hand pane and click the plus (+) button to add it.
You can also include checkboxes for single or multiple selections.
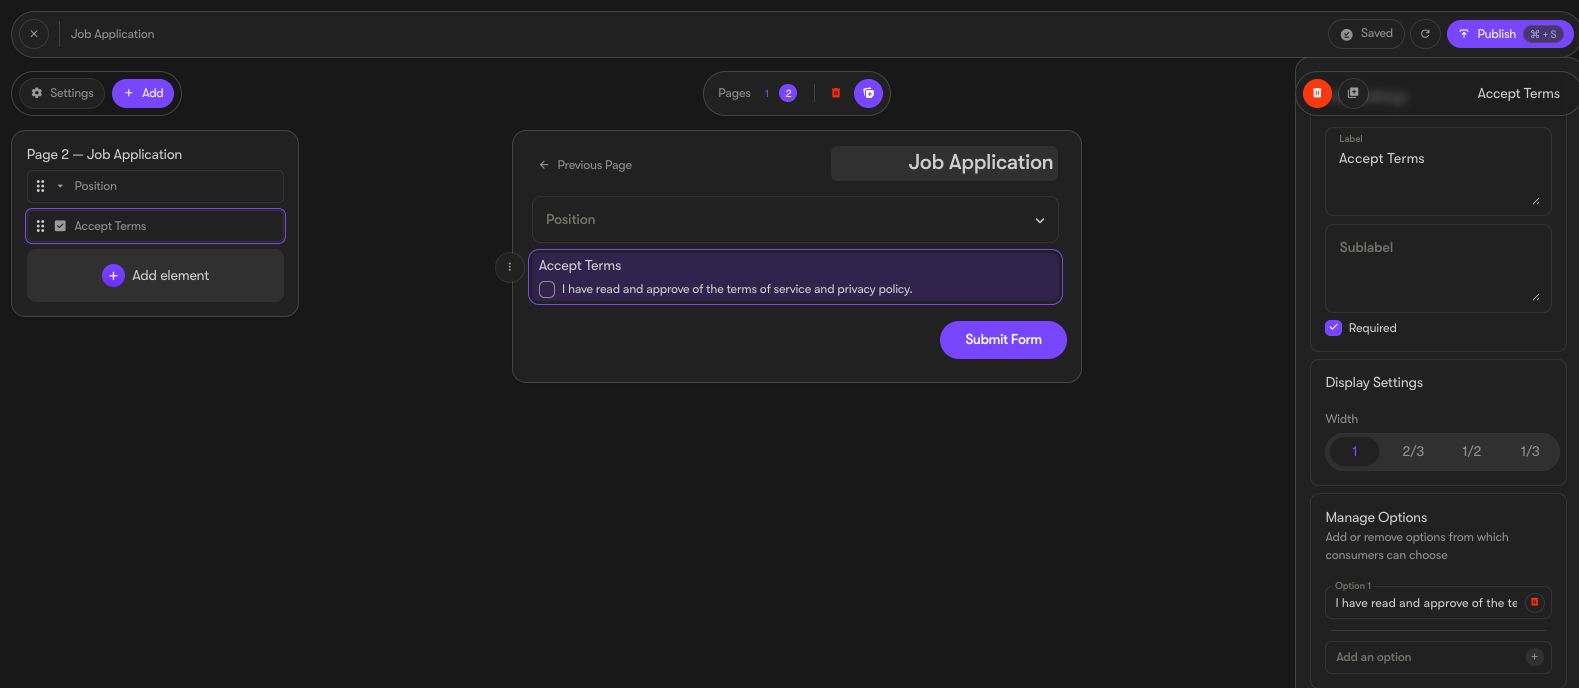
Configuring Submission Settings
Set the Email Destination
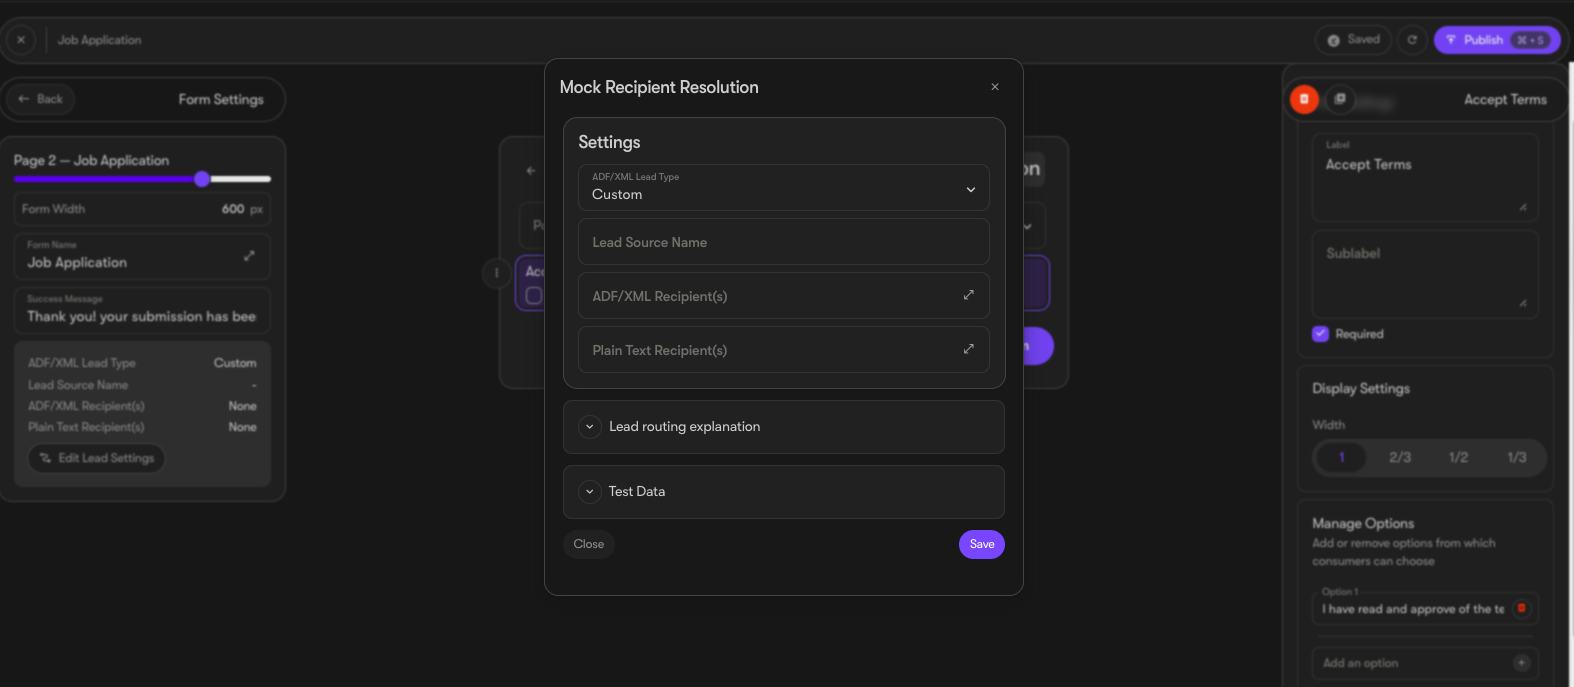
Click Settings (top left), then select Edit Lead Settings.
Choose how submissions are sent:
ADF format (for CRM systems, learn more here)
Plain text (for employee-facing emails)
Both, if needed.
If sending to multiple email addresses, separate them with commas.
Publishing Your Form
Publish and Add to a Page
When your form is ready, click Publish in the top-right corner.
To add the form to your website, go to Website → Pages.
Open the page where you want the form to appear.
Click Insert Element → Custom Form, then select your form from the list.